How to Join Granny Squares: 4 Easy Methods Compared
Four reliable ways to join granny squares, with step-by-step instructions for each and a comparison table to help you choose.
Tutorial at a glance
Materials
- Yarn needle
- Scissors
- Finished, blocked granny squares
- Stitch markers or pins (optional)
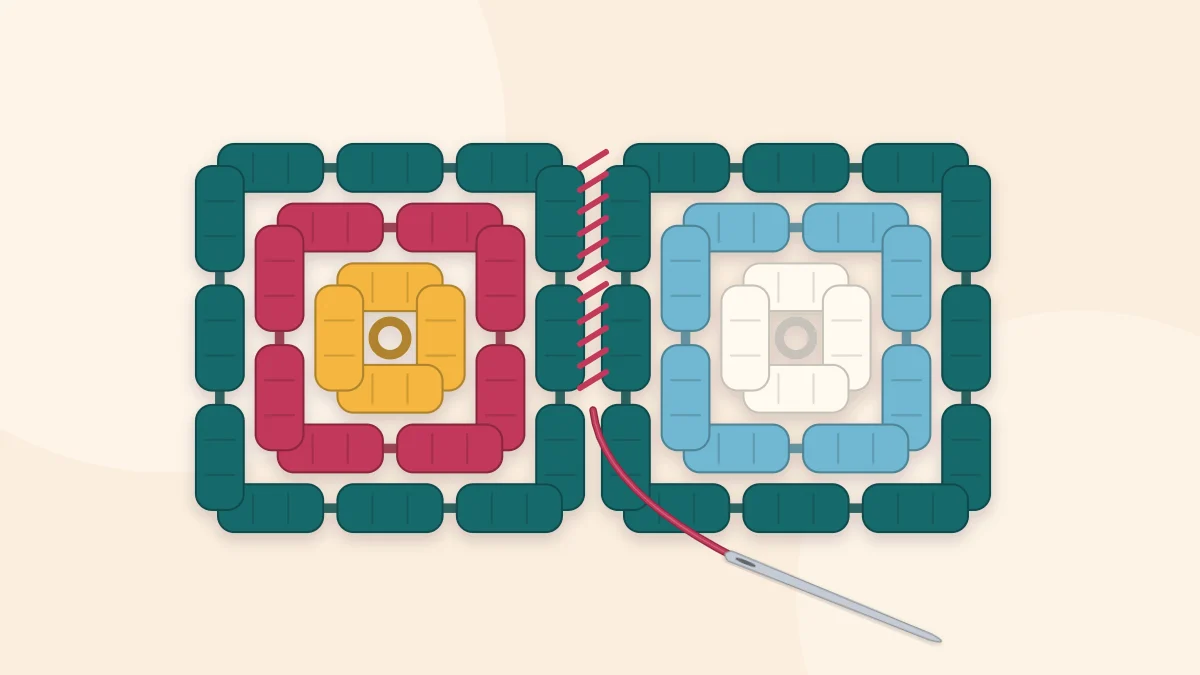
There are four joins worth learning first, and each one suits a different job. Whip stitch is the simplest and fastest to sew. Mattress stitch gives the flattest, least visible seam. A slip stitch join is quick with a hook and lies fairly flat. A single crochet join leaves a raised ridge that becomes part of the design. All four work on any square with straight edges, and none of them needs more than a yarn needle or the hook you already used.
US crochet terms are used throughout. If you would rather attach squares while you crochet their last round, that is a separate technique covered in join as you go granny squares.
Before You Join
- Block the squares. Squares pinned to the same size meet edge to edge without puckering. See how to block granny squares.
- Deal with the tails. It is far easier to weave in ends on single squares than on a heavy joined piece.
- Lay everything out. Arrange the squares right side up in their final order and check the color balance before sewing anything.
- Match the edges. Squares from the same pattern have the same number of stitches and chains along each side, so you can join stitch for stitch. On a three-round classic granny square with one chain between clusters, for example, each edge has 9 double crochets, 2 side chains and 1 corner chain at each end: 13 loops to join.
Abbreviations
- ch = chain
- st(s) = stitch(es)
- sl st = slip stitch
- sc = single crochet (UK double crochet)
- yo = yarn over
- RS / WS = right side / wrong side
- Back loop = of the two loops at the top of a stitch, the one farther from you when the RS faces you
Whip Stitch Join
Sewn with a yarn needle. Best for beginners and for projects where speed matters more than an invisible seam.
- Cut a length of yarn about three times as long as the seam and thread a yarn needle.
- Hold two squares with RS together and the edges to be joined at the top.
- Starting at the right-hand corner, push the needle through the corner ch of both squares, from front to back. Leave a 6 in (15 cm) tail.
- Bring the needle over the top of the edge and push it through the next st of both squares, again from front to back.
- Repeat in every st and ch across, ending in the corner ch at the other end. Pull each stitch snug but not tight.
For a flatter seam, catch only the back loops. With the squares held RS together, those are the two outermost loops of the four you can see along the top.
Mattress Stitch (Invisible Seam)
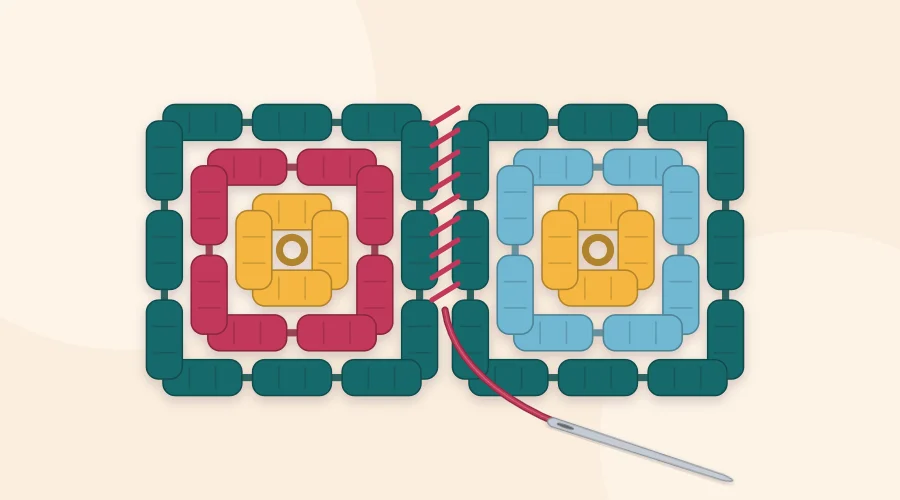
Also sewn, but worked with the squares lying flat and RS up, so you can see the result as you go.
- Lay two squares side by side, RS up, with the edges touching. Thread the needle as for whip stitch.
- Bring the needle up through the corner ch of the left square, then up through the corner ch of the right square.
- Slide the needle under the back loop of the next st on the left square, then under the back loop of the matching st on the right square. With the squares flat, the back loop is the lower one, nearer the table.
- Continue from side to side like the rungs of a ladder. After every four or five stitches, pull the yarn gently so the rungs close and the edges draw together.
- Finish in the corner chs and secure the yarn on the WS.
Slip Stitch Join
Worked with a hook. It is fast and firm, with very little stretch.
- Hold two squares with RS together for a seam that sits on the WS, or WS together for a thin line on the RS.
- Insert the hook through the corner ch of both squares, yo and pull up a loop, then ch 1 to secure.
- Insert the hook through the back loops of the next st on both squares, yo and pull through the squares and the loop on the hook in one motion (1 sl st made).
- Repeat in every st and ch across, ending in the corner ch. Fasten off.
Watch out
Slip stitches tighten easily. If the seam comes out shorter than the squares and makes them gather, pull it out and work it again more loosely or with a hook one size larger.
Single Crochet Ridge Join
The same idea as the slip stitch join, but with a taller stitch that stands up as a ridge.
- Hold two squares with WS together so the ridge forms on the RS.
- Insert the hook through the corner ch of both squares, yo and pull up a loop, ch 1.
- Insert the hook under both loops of the next st on both squares (four loops in all), yo and pull up a loop, yo and pull through both loops on the hook (1 sc made).
- Work 1 sc in every pair of sts and chs across, ending in the corner ch. Fasten off.
A ridge in a contrasting color frames every square like a window pane. It uses more yarn than the other joins, so allow for that when buying yarn.
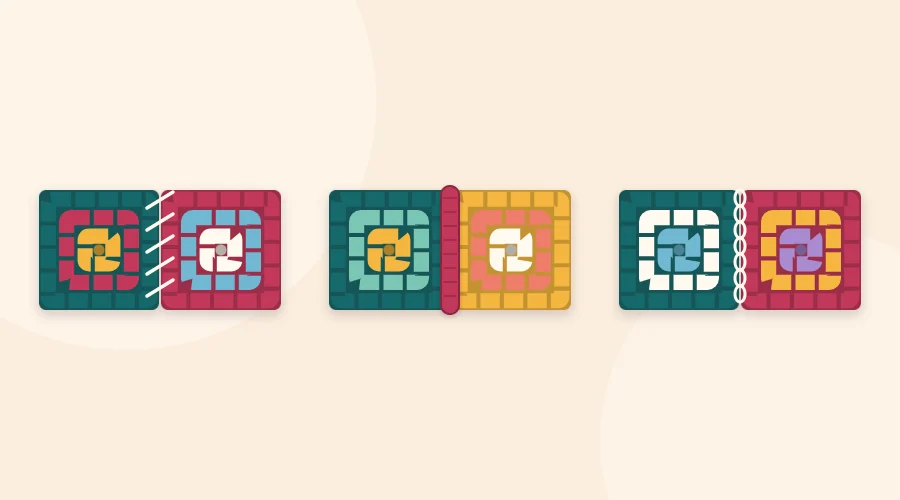
The Four Joins Compared
| Join | Tool | Look | Stretch | Good for |
|---|---|---|---|---|
| Whip stitch | Yarn needle | Small slanted stitches, slight ridge | Moderate | First projects, quick finishing |
| Mattress stitch | Yarn needle | Flat and nearly invisible | Moderate | Garments, pillow covers, solid squares |
| Slip stitch | Hook | Flat chain line | Low | Bags and items that should not stretch |
| Single crochet ridge | Hook | Raised decorative ridge | Low to moderate | Blankets with a contrast grid |
Which Join To Pick
Choose by what the finished piece has to do. Clothing and anything worn against the skin is more comfortable with a flat seam, so mattress stitch or a back-loop whip stitch is the usual choice. A bag benefits from the firmness of slip stitch. A blanket can take any of them: sew it for a smooth surface, or use the single crochet ridge when you want the joining color to show.
Joining A Whole Blanket
Work in long seams instead of square by square. First join the squares into strips, or join all the horizontal seams across the full width of the layout. Then turn the piece and work the vertical seams in one pass each. Where four corners meet, join the corner ch of one pair, then go straight on to the corner ch of the next pair without adding extra stitches, so the intersection stays flat. Once every seam is done, a granny square border tidies the outer edge and hides small differences between squares.
Frequently asked questions
What is the easiest way to join granny squares?
Whip stitch is usually the easiest: hold two squares together and sew over the edge through each pair of matching stitches with a yarn needle.
Which join is the flattest?
Mattress stitch gives the flattest and least visible seam because the sewing yarn sits between the edges. A whip stitch worked through the back loops only is also quite flat.
Should granny squares be joined on the right side or the wrong side?
It depends on the join. Sewn seams and slip stitch seams are normally worked so the seam sits on the wrong side, while a single crochet ridge is worked with wrong sides together so the ridge shows on the right side.
Do I need to block squares before joining them?
It is strongly recommended. Blocked squares are the same size and have straight edges, which makes it much easier to match stitches and keeps seams from puckering.