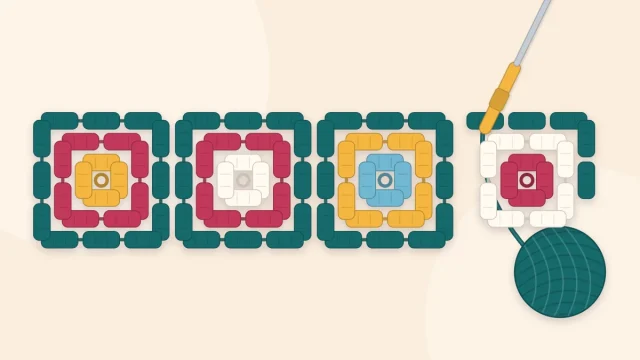
Granny Square Border: 3 Easy Edgings for Squares and Blankets
How to add a border to a single granny square or a joined blanket, starting with an evening-out round and finishing with plain single crochet, granny clusters or scalloped shells.
Tutorial at a glance
Materials
- Yarn needle
- Scissors
- Stitch markers for the corners
A border does three jobs at once: it straightens an edge made bumpy by seams and clusters, it frames the colors inside it, and it gives the piece a firmer rim that wears better. The process is the same for a single square and for a full blanket. First work one plain round that evens everything out, then add the decorative border of your choice on top of it, always putting extra stitches in the corners so the edge can turn without pulling.
The three borders here are written in US crochet terms, with counts for a three-round classic granny square and notes on scaling up to a joined blanket.
Abbreviations
- ch = chain
- sl st = slip stitch
- sc = single crochet (UK double crochet)
- dc = double crochet (UK treble)
- st(s) = stitch(es)
- sp = space; ch-1 sp, ch-2 sp = space made by 1 or 2 chains
- sk = skip
- rep = repeat
- rnd = round
- RS = right side
- Shell = several dc worked into the same stitch or space so they fan out
Before You Start
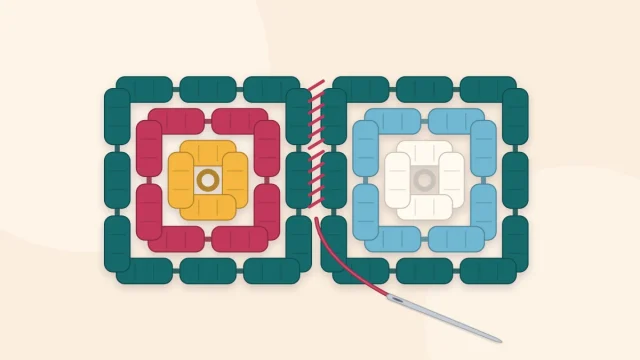
Finish all seams and weave in the ends first. If you are still deciding on a seam, the options are compared in how to join granny squares. Work every border round with the RS facing you and do not turn.
The example square has three rounds of 3-dc clusters with ch 1 between the side clusters and ch 2 in each corner. Each side therefore has 9 dc and 2 ch-1 sps between the corner ch-2 sps.
Step 1: The Evening-Out Round
- Rnd 1: Join yarn with a sl st in any corner ch-2 sp. Ch 1, (sc, ch 2, sc) in same sp. *Sc in each of next 3 dc, [sc in next ch-1 sp, sc in each of next 3 dc] 2 times, (sc, ch 2, sc) in next corner ch-2 sp; rep from * 2 more times. Sc in each of next 3 dc, [sc in next ch-1 sp, sc in each of next 3 dc] 2 times, sl st in first sc. (52 sc, 4 ch-2 sps)
Check one side: 11 sc along the edge plus 1 sc from the corner at each end makes 13 sc between corner spaces, and 4 sides of 13 make 52.
On A Joined Blanket
Work along each square in the same way. When you reach a seam, put 1 sc in the corner sp of the square you are leaving and 1 sc in the corner sp of the square you are entering, and nothing in the seam itself. Only the four outer corners of the blanket get (sc, ch 2, sc). With three-round squares, every square then adds 13 sc to its side, so a side of 4 squares has 52 sc between corners.
Tip
Lay the piece flat after this round. A wavy edge means too many stitches, and an edge that cups or pulls in means too few. It is much quicker to correct the count now than after two more rounds.
The Corner Rule
Every border round has to grow at the corners. For sc rounds, working (sc, ch 2, sc) in each corner sp adds 2 sc to every side per round. For dc rounds, a larger group goes in the corner. A corner that curls upward needs more stitches; one that ruffles has too many.
Border 1: Plain Single Crochet
The simplest border, and a good choice for busy, multicolor squares.
- Rnd 2: Sl st into the corner ch-2 sp. Ch 1, (sc, ch 2, sc) in same sp, *sc in each of next 13 sc, (sc, ch 2, sc) in next corner sp; rep from * 2 more times, sc in each of next 13 sc, sl st in first sc. (60 sc, 4 ch-2 sps; 15 sc per side)
- Rnd 3: Work as Rnd 2, with 15 sc along each side. Fasten off. (68 sc, 4 ch-2 sps; 17 sc per side)
The cleanest way to start a new color in a corner is explained in how to change colors in a granny square.
Border 2: Granny Clusters
A cluster border is simply one more granny round, so it can go straight onto a classic granny edge without the evening-out round.
- Cluster rnd: Join yarn with a sl st in any corner ch-2 sp of the three-round square. Ch 3 (counts as 1 dc), (2 dc, ch 2, 3 dc) in same sp. *[Ch 1, 3 dc in next ch-1 sp] 2 times, ch 1, (3 dc, ch 2, 3 dc) in next corner sp; rep from * 2 more times. [Ch 1, 3 dc in next ch-1 sp] 2 times, ch 1, sl st in top of ch 3. Fasten off. (48 dc, 4 ch-2 sps, 12 ch-1 sps)
On a blanket, treat each seam as a pair of spaces: work 3 dc in the corner sp before the seam, ch 1, and 3 dc in the corner sp after it. If the edge begins to wave at the seams, replace those two clusters with 2 dc in each space.

Border 3: Scalloped Shells
Shells need the right number of stitches: each side must have a multiple of 6 sc plus 1 between the corner spaces. The 13 sc per side from the evening-out round fits exactly (6 x 2 + 1).
- Shell rnd: Join yarn with a sl st in the first sc after any corner ch-2 sp. Ch 1, sc in same st. *[Sk 2 sc, 5 dc in next sc, sk 2 sc, sc in next sc] 2 times, 7 dc in corner ch-2 sp, sc in next sc; rep from * 3 more times, leaving out the final sc on the last repeat. Sl st in first sc. Fasten off. (12 sc, eight 5-dc shells, four 7-dc corner shells)
Watch out
On a blanket the side count will rarely be a multiple of 6 plus 1 by chance. Adjust it in a second sc round, remembering that the (sc, ch 2, sc) corners of that round add 2 sc to every side on their own. A side of 52 sc, for example, becomes 54, so it needs 1 more to reach 55 (6 x 9 + 1): work 2 sc in one stitch near the middle of that side, then work the shells.
Choosing Width And Color
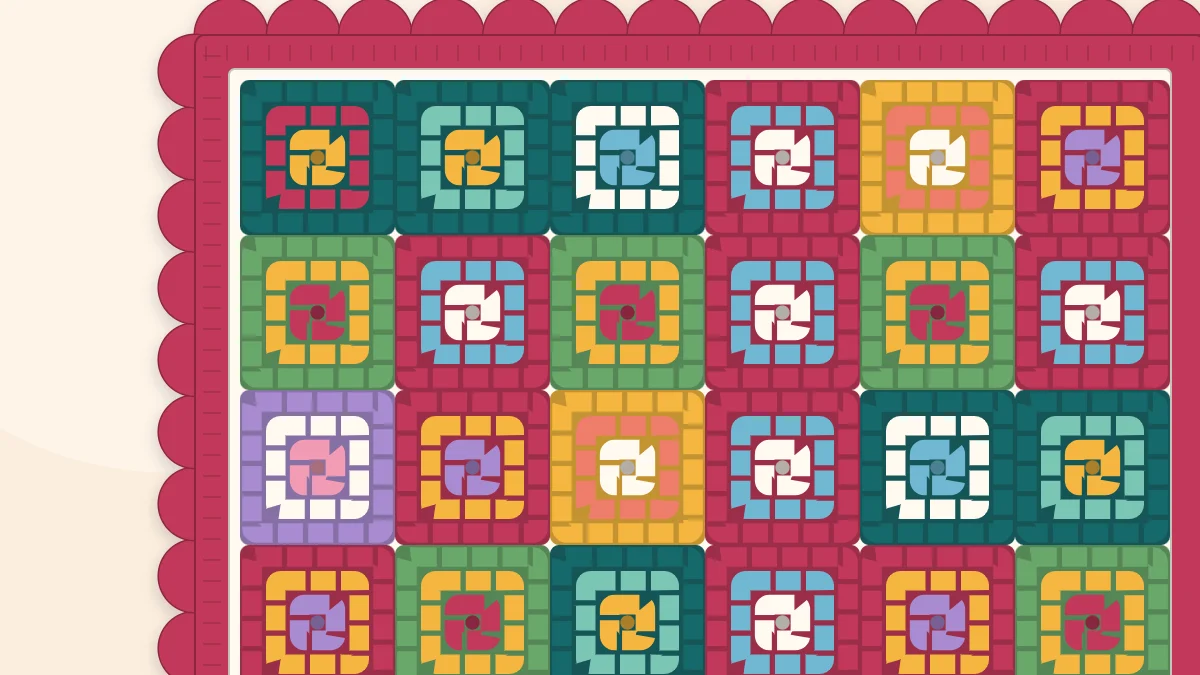
A border about as wide as one or two rounds of the squares is a balanced starting point for a small throw. A dark or neutral border calms a scrappy layout, while repeating one color from the squares ties the piece together. Every round is longer than the last, so set yarn aside for the border when planning a granny square blanket.
Stitch counts on a real blanket depend on your squares, seams and tension, so treat the numbers above as a method, not a guarantee. A finished border also benefits from light blocking, as described in how to block granny squares.
Frequently asked questions
How many stitches go in the corner of a granny square border?
For single crochet rounds, work (sc, ch 2, sc) in each corner space. For double crochet rounds a larger group is needed, such as (3 dc, ch 2, 3 dc) for clusters or a 7-dc shell for a scalloped edge.
Why is my border wavy or ruffled?
A wavy border has too many stitches for the length of the edge. Pull the round out and work fewer stitches, for example by placing only one stitch in each corner space at the seams.
Do I need an evening-out round before the border?
It is recommended for joined pieces and for shell borders, because it gives a smooth, countable base. A granny cluster border can be worked straight onto a classic granny edge without one.
How wide should a blanket border be?
There is no fixed rule. A border about as wide as one or two rounds of the squares is a balanced starting point for a small throw, and larger blankets can carry a wider one.