How to Weave in Ends on Granny Squares So They Stay Put
Secure yarn tails by weaving them in three directions with a yarn needle, learn when crocheting over ends works, and keep multi-color squares manageable.
Tutorial at a glance
Materials
- Blunt yarn needle (tapestry needle)
- Small sharp scissors
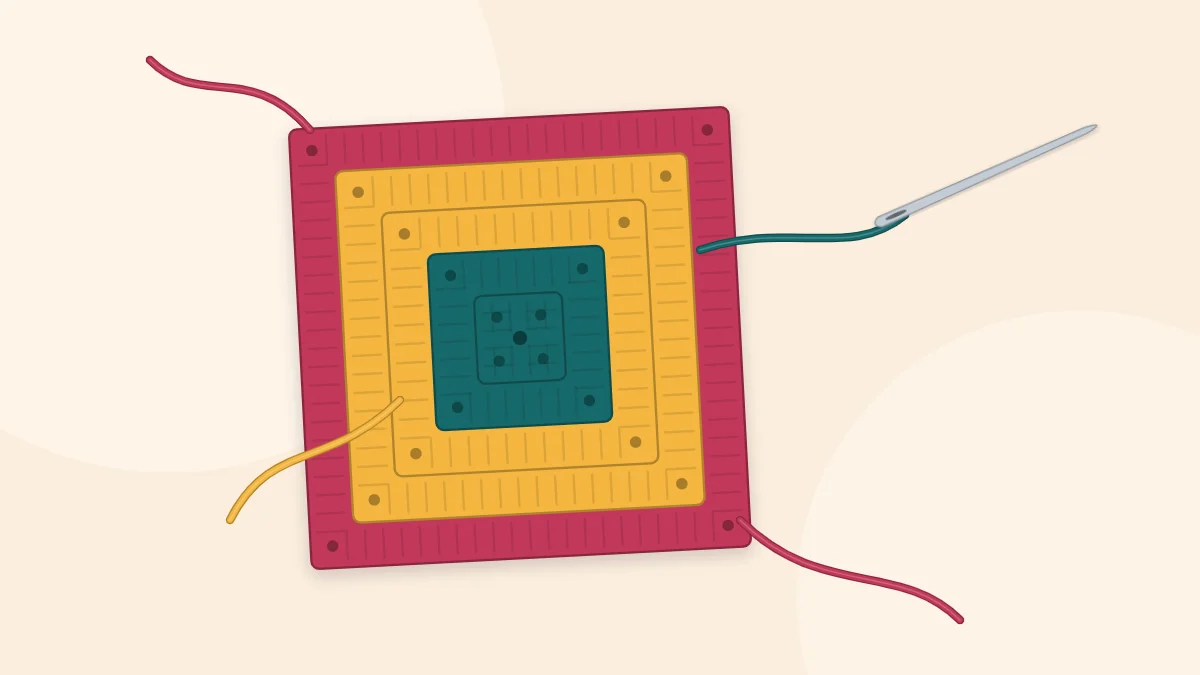
To weave in an end securely, thread the tail onto a yarn needle, run it through the base of the stitches on the wrong side for about an inch, turn around and run it back through a slightly different path, then change direction once more before trimming. The changes of direction are what hold the tail: a strand woven in a single straight line can slide back out as the fabric stretches, while a strand that doubles back has to fight its own path.
What You Need
- A blunt yarn needle (tapestry needle) with an eye large enough for the yarn.
- Small, sharp scissors.
- Tails of about 6 in (15 cm). Shorter tails are hard to thread and leave too little length to change direction.
A blunt needle slides between strands. If the tail keeps escaping, a sharper needle that pierces the plies can grip better, particularly with smooth cotton.
Abbreviations
- ch = chain
- dc = double crochet (US term; UK treble)
- sp = space
- rnd = round
- WS = wrong side, the back of the square
- RS = right side, the front of the square
The Three-Pass Method
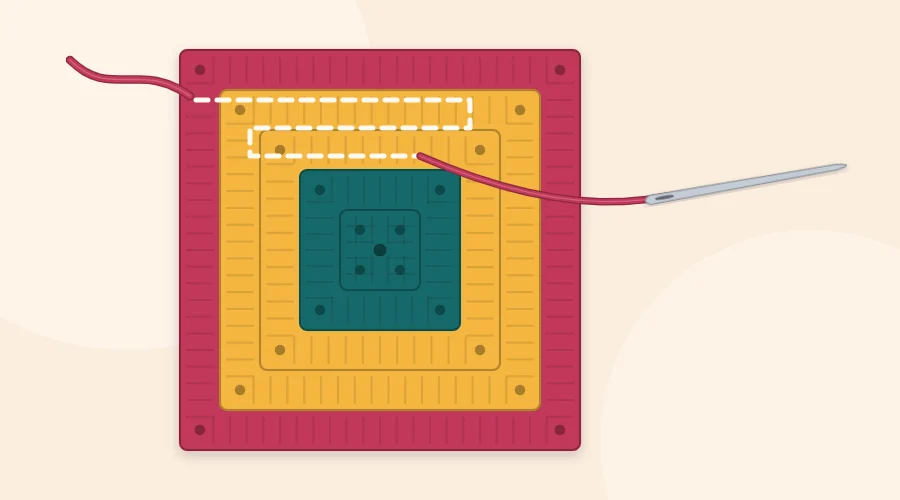
- Turn the square over. Work on the WS and thread the tail onto the needle.
- First pass. Slide the needle through the base of the nearest 3-dc cluster of the same color, under the back strands of the stitches, for about 1 to 1½ in (2.5 to 4 cm). Pull the yarn through until it lies flat without puckering the fabric.
- Second pass. Skip one strand so the yarn has something to wrap around, then run the needle back in the opposite direction through the same stitches, on a slightly different path. Splitting the plies of the yarn here adds grip.
- Third pass. Turn again and weave a short distance in the first direction, or run the needle up through the post of a dc.
- Stretch. Pull the square gently in both directions so the tail settles to the natural length of the fabric.
- Trim. Cut the tail close to the surface without nicking the stitches. The stretched fabric will draw the cut end inside.
Check the RS before trimming. If the tail shows through, pull it out and take a path deeper inside the stitches.
Watch out
Do not carry a tail across a chain space. It will be visible from both sides and has nothing to grip. In a classic granny square, travel through the clusters and stop at each gap.
Where to Hide Tails in Different Squares
Classic Cluster Squares
The open spaces limit your route. Weave through the base of one cluster, turn, and go back through the same cluster, then take the tail up a dc post into the top of the cluster. If more length is needed, cross to the next cluster by passing under the top of the stitches in the round below, not across the gap.
Solid Squares
A solid granny square has continuous fabric, so there is more room. Weave horizontally along a round, then diagonally or vertically through the stitch posts.
The Center Tail
The starting tail keeps the middle of the square closed, so it deserves extra care. For a chain ring, weave the tail around the ring through the base of the Rnd 1 stitches, then reverse and go back the other way. For a magic ring (an adjustable loop that is pulled tight after Rnd 1), weave around the ring in the direction that keeps it tight, go around a second time if there is room, then reverse direction before trimming. A magic ring secured in only one direction can loosen over time.
Matching Tails to Their Own Color
Always weave a tail into stitches of the same color. A dark tail woven into a pale round can show through as a shadow. At a color change there are two tails side by side: send the old color back into the round it came from, and the new color forward into the round it started. Taking them in opposite directions also spreads the bulk. Choosing where to start each color helps too, as explained in how to change colors in a granny square.
Crocheting Over Ends
Crocheting over a tail hides it as you go, with no needle.
- Lay the tail along the top of the previous round, in the direction you are about to work.
- Work the next stitches as usual, inserting the hook under both the stitch or space and the tail so each stitch wraps around it.
- After 1½ to 2 in (4 to 5 cm), let the tail drop to the WS.
This works best on solid squares. In a classic granny square the tail is covered inside each cluster but would lie exposed across the chain between clusters, so cover it under one corner’s stitches only. Crocheting over an end holds it in one direction, which is the weak point: thread the remaining tail onto a needle and make one pass back the other way before trimming.
Tip
Leave a short stub of about ¼ in (6 mm) on the WS if you plan to block the squares, then trim it flush once they are dry. Blocking lets the tails relax into place first.
The full process is in how to block granny squares.
Managing Squares With Many Color Changes
A square with a new color every round has two tails per round, so a three-round square has six. Across a blanket that becomes hundreds of ends. A few habits keep the job under control:
- Finish each square before starting the next. Weaving six ends takes a few minutes; facing a full blanket’s worth at once is what makes people abandon projects.
- Stagger the starting corners. Beginning each round in a different corner keeps tails from piling up in one spot.
- Use the joining yarn wisely. When squares are sewn or crocheted together, a long final tail can sometimes be used for part of the seam. Methods are compared in how to join granny squares.
- Reduce the number of colors per square. Two rounds in the same color, or squares joined on their last round, mean fewer cuts.
Should You Knot the Ends?
Knots are tempting, but they form hard lumps, can work through to the front, and may still come undone in smooth yarn. Weaving with direction changes is the standard approach because it stays flat and flexes with the fabric. For slippery fibers such as mercerized cotton, bamboo or silk blends, leave a longer tail, add a fourth pass and split the plies as you go. For grippy fibers such as wool, three passes are generally considered enough.
How well an end stays put depends on the yarn, the tension and how the finished piece is used and washed, so check a washed sample square before committing a large project to one method.
Frequently asked questions
How long should yarn tails be for weaving in?
About 6 inches (15 cm) is a common guideline. That is enough to thread a needle comfortably and weave in three directions; slippery yarns benefit from a little more.
Is crocheting over ends secure enough?
On its own it holds the tail in only one direction, so it can work loose. Crochet over the tail for a couple of inches, then make one needle pass back the other way before trimming.
Should you knot yarn ends in crochet?
Knots are generally avoided because they make lumps, can show on the front and may still come undone. Weaving the tail in with changes of direction stays flat and moves with the fabric.
Should you weave in ends before or after blocking?
Weave them in before blocking but leave a short stub, then trim it once the square is dry. Blocking helps the woven tail settle into the stitches.