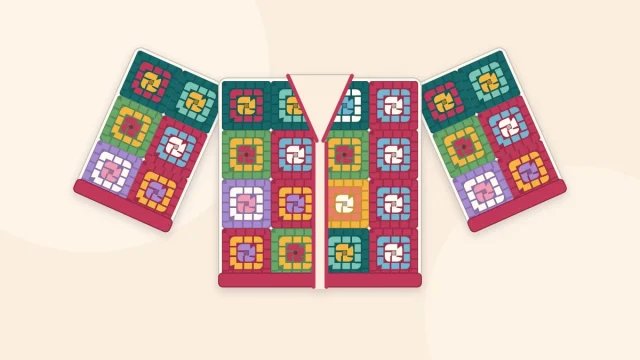
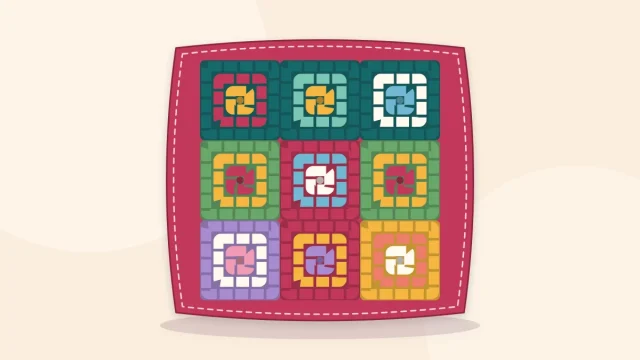
Granny Square Bag: A Simple 18-Square Tote Pattern
A flat tote made from eighteen small granny squares: two panels of nine, three seams and a single crochet strap, with advice on lining the bag and stopping the strap from stretching.

Tutorial at a glance
Materials
- Yarn needle
- Scissors
- Pins or clips
- Woven cotton fabric for lining (optional)
- Sewing needle and thread (optional)
- Cotton ribbon or webbing for the strap (optional)
The simplest granny square bag is a flat tote: eighteen small squares joined into two panels of nine, seamed on three sides and finished with a strap. Nothing is shaped, so the only skills needed are the classic granny square, a basic seam and rows of single crochet. With squares of about 4 in (10 cm), the bag comes out at roughly 12 in (30 cm) wide and 12 in (30 cm) tall, although the real size depends on yarn, hook and tension. Make one square and measure it before starting the rest.
Materials and Yarn Choice
- Worsted weight (4) cotton or cotton blend yarn, roughly 350 to 450 yards (320 to 410 m) in total as an estimate, in one color or several
- US G-6 (4 mm) hook, smaller than usual for this yarn so the fabric is firm
- Yarn needle, scissors and pins or clips
- Optional: woven cotton fabric for a lining, sewing needle and thread
Cotton is the usual pick for bags because it has very little stretch and holds its shape under weight, while soft acrylic and wool tend to give more. The guide to the best yarn for granny squares compares the fibers in more detail.
Abbreviations (US Terms)
This pattern uses standard US crochet terms. US double crochet is the same stitch as UK treble, and US single crochet is UK double crochet.
- ch = chain
- sl st = slip stitch
- sc = single crochet
- dc = double crochet
- st(s) = stitch(es)
- sp = space
- rnd = round
- cluster = 3 dc worked into the same space
The Square (Make 18)
Each square is a three-round classic granny. The starting chain 3 counts as a dc throughout. For a slower walk-through of the same rounds, see how to crochet a granny square.
- Start: Ch 4, sl st into the first ch to form a ring.
- Rnd 1: Ch 3, 2 dc into the ring, ch 2, [3 dc into the ring, ch 2] 3 times, sl st to the top of the ch-3. Count: 4 clusters (12 dc), 4 ch-2 corner sps.
- Rnd 2: Sl st in the next 2 dc and into the corner sp. (Ch 3, 2 dc, ch 2, 3 dc) in the same sp, ch 1, [(3 dc, ch 2, 3 dc) in the next corner sp, ch 1] 3 times, sl st to the top of the ch-3. Count: 8 clusters (24 dc), 4 corner sps, 4 ch-1 sps.
- Rnd 3: Sl st in the next 2 dc and into the corner sp. (Ch 3, 2 dc, ch 2, 3 dc) in the same sp, ch 1, 3 dc in the next ch-1 sp, ch 1, [(3 dc, ch 2, 3 dc) in the next corner sp, ch 1, 3 dc in the next ch-1 sp, ch 1] 3 times, sl st to the top of the ch-3. Count: 12 clusters (36 dc), 4 corner sps, 8 ch-1 sps. Fasten off and weave in the ends.
Every edge of a finished square has 9 dc, 2 ch-1 sps and a corner sp at each end. That makes 13 places to put a stitch along each edge, a number that matters during assembly.
Layout and Assembly
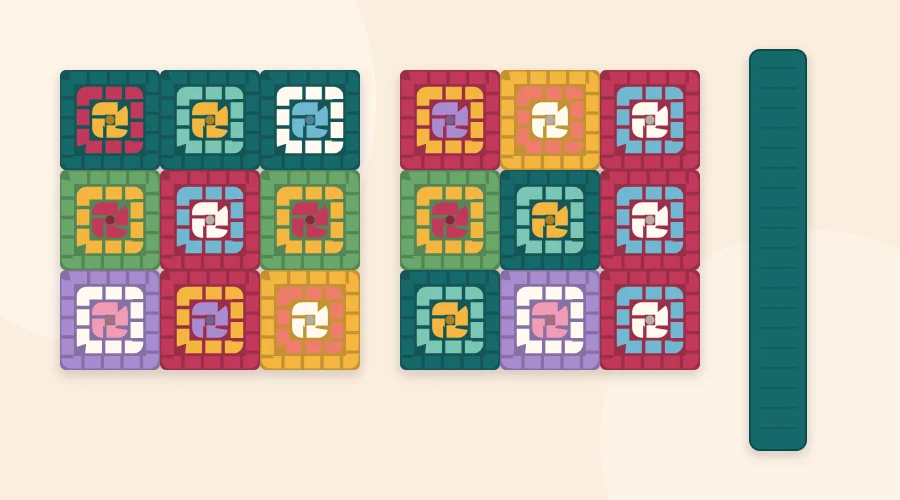
- Arrange the panels. Lay out two grids of 3 squares by 3 squares and move colors around until both panels look balanced.
- Join each panel. A 3 by 3 grid has 12 seams between squares: 6 running one way and 6 the other, so 24 short seams for both panels. A flat whip stitch or a slip stitch seam keeps the fabric smooth; both are explained in how to join granny squares.
- Seam the bag. Hold the panels with wrong sides together. Join yarn at the top of one side and sc through both layers down the side, across the bottom and up the other side: 1 sc in each dc, each ch-1 sp and each corner sp. Each of the two bottom corner sps is shared by two edges and takes 2 sc. That is 13 sc per square edge over 9 edges, 117 sc in total. Fasten off.
- Edge the opening. Join yarn at a side seam and sc around the top of the bag in the same way, 13 sc per square edge over 6 edges, 78 sc in total. Sl st to the first sc. Work a second rnd of 78 sc for a firmer rim, then fasten off.
The Strap
- Foundation: Ch 7.
- Row 1: Sc in the 2nd ch from the hook and in each ch across. Count: 6 sc.
- Row 2: Ch 1 (does not count as a st), turn, sc in each st across. Count: 6 sc.
- Repeat Row 2 until the strap measures about 24 in (61 cm) for a shoulder bag, or longer for a cross-body bag. Fasten off, leaving a long tail.
Pin each end of the strap to the inside of a side seam, overlapping the top edge by about 1.5 in (4 cm), and sew it down firmly around all four sides of the overlap. For two short handles instead, make two strips of about 14 in (36 cm) and sew the ends of each to the inside of one panel, lined up with the seams between squares.
Stopping Stretch
Crochet stretches lengthwise under load, and a strap carries the whole weight of the bag. A few habits help:
- Make the strap a little shorter than the length wanted, since it is likely to lengthen in use.
- Work the strap tightly, or with a hook one size smaller than the squares.
- Sew a length of cotton ribbon or webbing to the underside of the strap. Woven tape does not stretch, so it takes the strain instead of the stitches.
Watch out
Classic granny squares are full of small gaps. Keys, pens and coins can slip through an unlined bag, so plan a lining for anything other than large, light items.
Adding a Simple Lining
A lining stops small things escaping and keeps the panels from sagging. Measure the finished panel first. Cut two pieces of woven cotton 1 in (2.5 cm) wider and 1 in (2.5 cm) taller than the panel, which allows 0.5 in (1.3 cm) for each seam and for the top hem. Sew the two pieces together down the sides and across the bottom. Fold the top edge 0.5 in (1.3 cm) to the wrong side and press it. Slip the lining into the bag with its seams facing the crochet, pin it just below the rim, and hand sew it to the inside of the top edging with small stitches.
A light blocking of the squares before joining makes all eighteen the same size, which in turn makes the lining far easier to fit.
Frequently asked questions
How many granny squares does a bag need?
This tote uses 18 squares: nine for the front and nine for the back, each panel arranged 3 by 3. Larger squares or a 4 by 4 layout make a bigger bag.
Does a granny square bag need a lining?
A lining is strongly advised. Classic granny squares have gaps that small items can slip through, and a woven fabric lining also helps the bag keep its shape.
How do you stop a crochet bag strap from stretching?
Work the strap tightly in single crochet, make it slightly shorter than needed, and sew non-stretch cotton ribbon or webbing to the underside so the tape carries the weight.
What yarn is best for a granny square bag?
Cotton or a cotton blend in worsted weight is the usual choice because it has little stretch and makes a firm fabric. Using a hook smaller than usual makes the squares denser.